Welcome to my blog which is usually about romance and happily-ever-afters, but for Christmas 2012 has been partially hijacked by the creation of a zombie Santa.
Last week, in The Zombie Santa Project- part one, I discussed why an apparently normal family would want a zombie Santa. So if you are struggling with the WHY or are not even sure what a zombie is, feel free to travel back in time to sort it out in your mind.
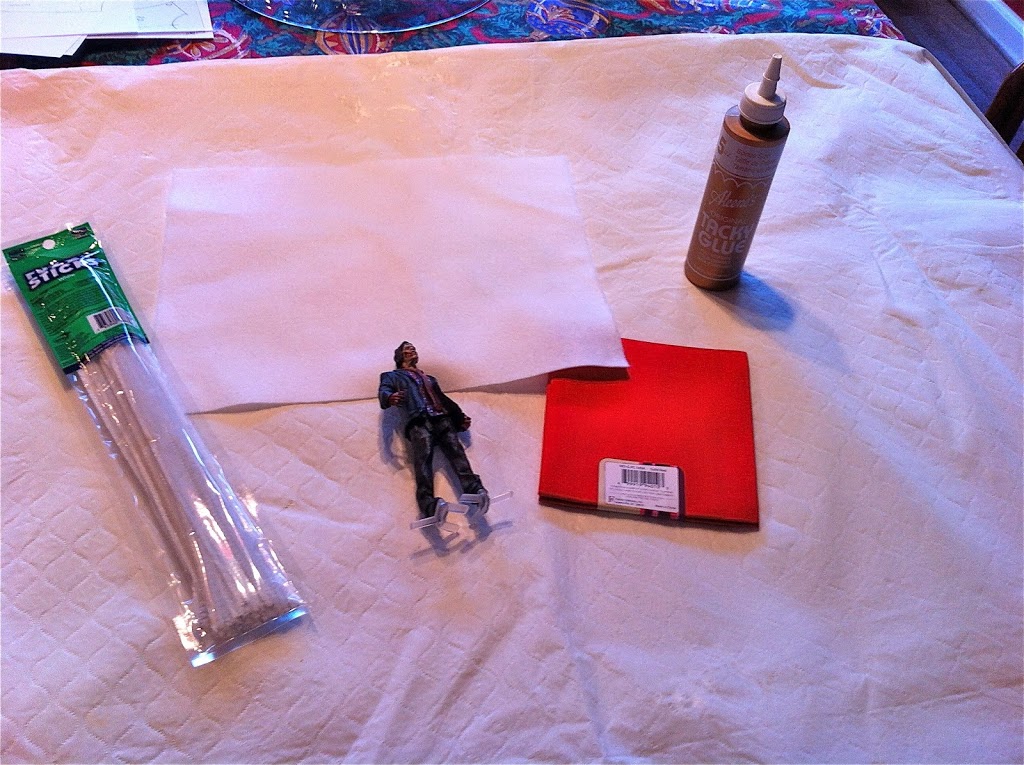 |
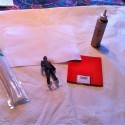
| The raw materials for building a zombie Santa |
To the left are the raw materials, most of which were gathered at a very big store whose name begins with W. I have a “fat square” of red cotton fabric, a small piece of white craft felt, a pack of white pipe cleaners, and some craft glue. As mentioned last week, we ordered a zombie figure online. He is actually a walker, with a wind-up knob in his back. He is completely cast in plastic so his Santa outfit has to be formed on top of his existing clothing.
I’m glad I chose a thin cotton instead of trying to use a fuzzy or velvety fabric. Being able to slip the cloth into narrow gaps beneath his arms and up under the suit jacket cast into his original form made my creative life much easier.
I decided to glue the cloth onto the figure instead of trying to sew an outfit because I guessed it would be simpler and also so our figure could still be articulated at the shoulders and hips (theoretically).
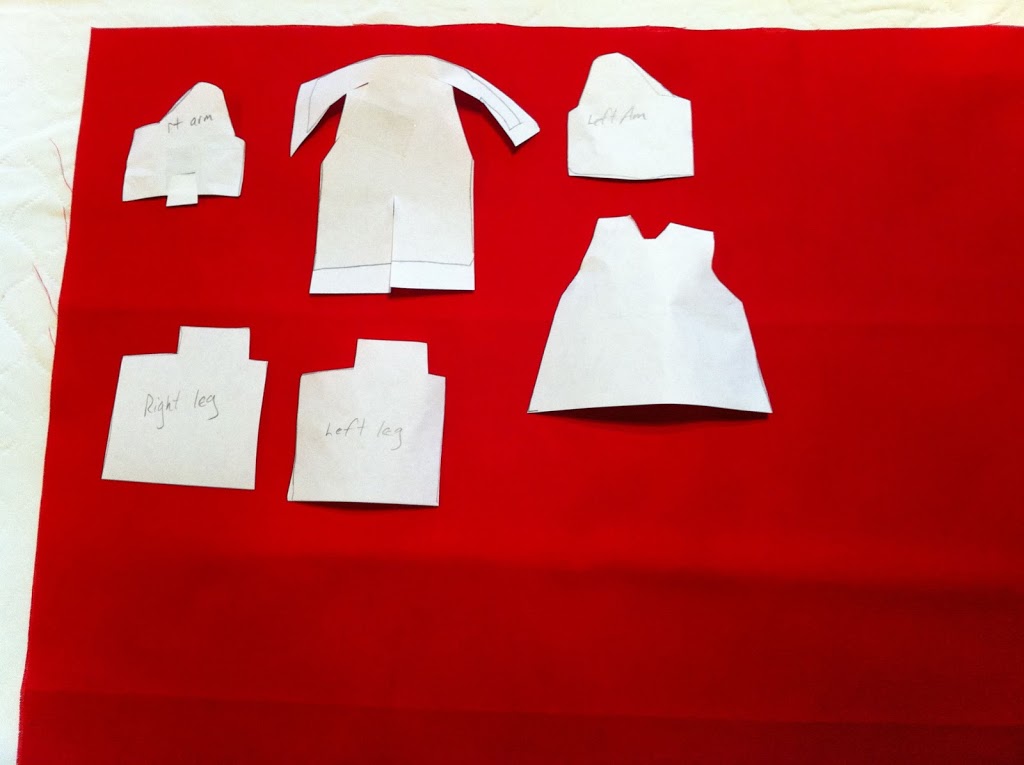 |
| The patterns for the Santa suit |
My next challenge was finding a pattern. I looked at some Ken doll patterns to get a basic idea then I started experimenting with paper. I was able to wrap the paper around the figure enough to get the shapes close. The pattern in the upper middle that looks like a long-sleeved shirt is actually the back of the coat. I thought those “sleeves” would wrap around to become a collar but that did not work so the final cloth piece looked more like a sleeveless T-shirt. If you look closely you can see that I cut a slit up the bottom to allow for the wind-up knob.
The two pieces on the bottom left are the patterns for the pant legs. I had to add some length in the final version. The tabs cover the upper outer thigh. I ended up adding a loincloth of sorts to cover the front crotch area because the coat gapped out quite a bit. (Santa does have a big belly, after all.) Luckily, I had plenty of cloth to experiment and make adjustments as needed.
I glued the pants first, then the arms, then the front of the coat at the shoulders only, then the back of the coat at the shoulders and over the ribs, then finished the coat by attaching the front to the back down the ribs.
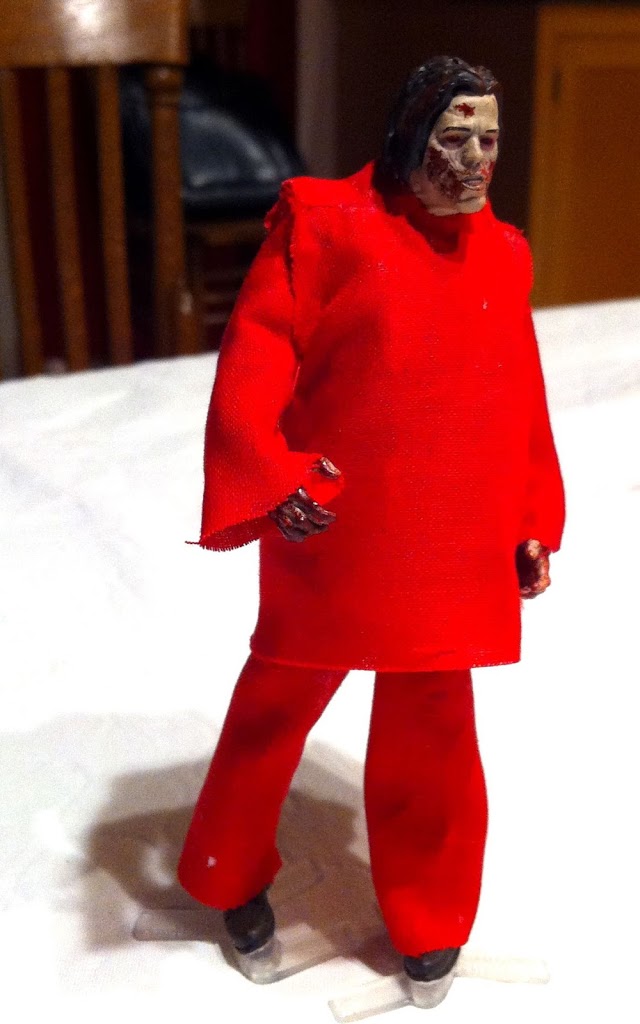 |
| Zombie Santa with the base of his suit applied |


Sorry, comments are closed for this post.